For a long time, the only viable way of interacting with a computer was using a mouse and keyboard. And while this is still quite popular, touchscreen machines have enabled new methods of input by stylus and fingers.
Windows 10 collects these features under the name Windows Ink. Let’s see how you can use these features to your advantage.
Getting Started With Windows Ink
To use Windows Ink, you’ll naturally need a computer that has a touchscreen. This is often a two-in-one tablet/laptop PC, but can also work with a touchscreen monitor. You can enable Windows Ink on a computer without a touchscreen, but it’s obviously much less useful.
On a supported computer, you should see the Windows Ink Workspace icon in the bottom-right corner of your screen. It looks like a pen drawing a line. If you don’t see it, right-click the Taskbar and choose Show Windows Ink Workspace button.
Clicking this icon brings up a sort of “hub” for Windows Ink features on your computer.
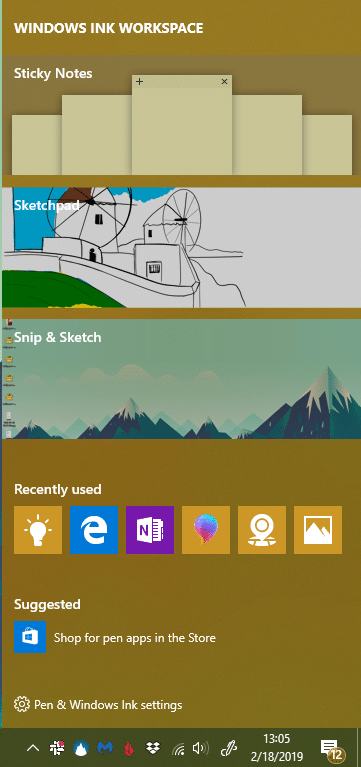
Next, we take a look at the apps offered in this panel.
Sticky Notes
Sticky notes are a great way to jot down short-term details you don’t want to forget. With Windows Ink, you can write them by hand instead of typing.
But that’s not all. Thanks to a feature called Insights, text you enter in sticky notes is context-sensitive. So if you write an address, you can tap it to start navigation in Maps. Entering a flight number will show information about it.
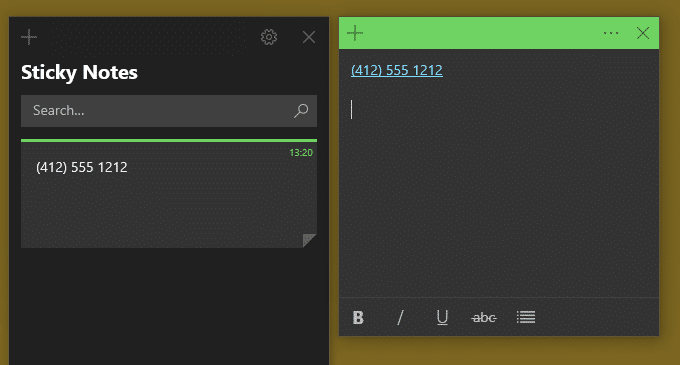
Even better, the latest version of Sticky Notes syncs with the Notes section in Outlook. In turn, these notes can sync with Apple Notes if you link everything together. This lets you access your quick sticky notes from all your devices.
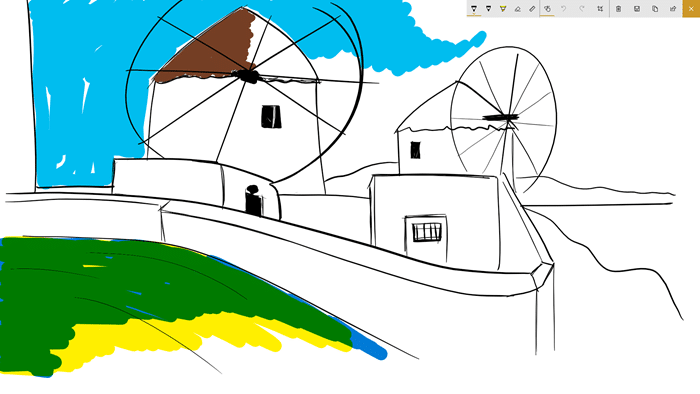
Sketchpad
Need a blank canvas to draw something up? Sketchpad is the perfect solution. After opening it, you can draw a picture, jot a quick note, or anything else you could want. At the top of the screen, you’ll find a toolbar to access pen and pencil drawing utensils, as well as an eraser, crop tool, and more.
Use the Share button to easily send your drawing with a compatible app, or Save it for future reference.
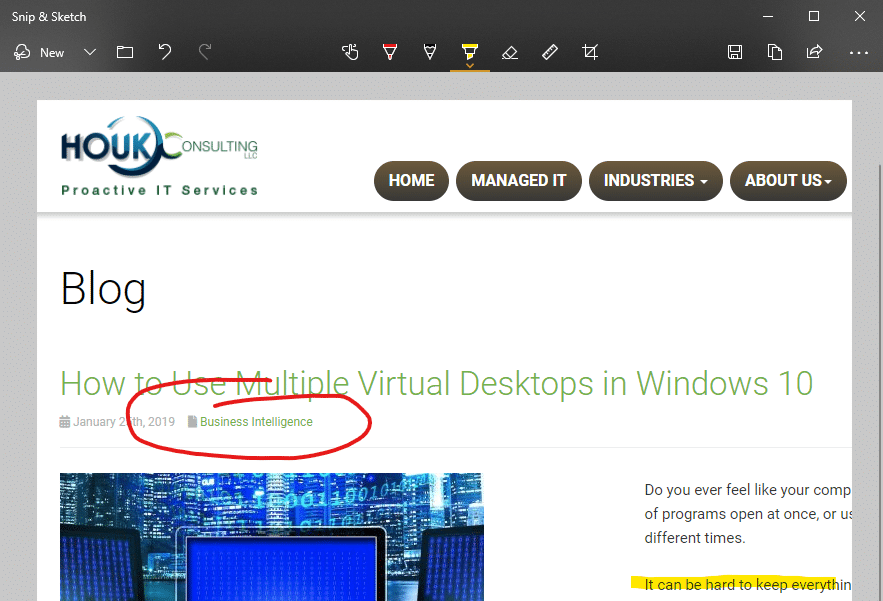
Snip & Sketch
We’ve discussed the Snipping Tool, a basic built-in screenshot utility, before. In the latest versions of Windows 10, Microsoft includes an enhanced version of this called Snip & Sketch.
It lets you grab screenshots, including time-delayed shots, and then mark them up as needed. You’ll find the usual drawing tools like a pen, eraser, and cropper, which you can use via the touchscreen.
More Windows Ink Apps
These built-in offerings are just a sampling of what you can accomplish with Windows Ink. You’ll see a Recently used section that collects recent apps on your computer that are compatible with Windows Ink. These include OneNote, Microsoft Edge, and Paint 3D.
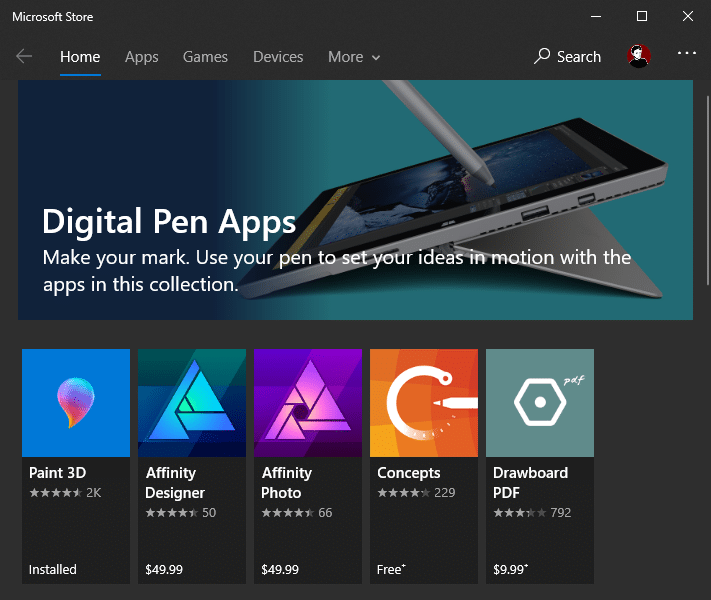
Click the Shop for pen apps in the Store link in the Windows Ink Workspace to open the Microsoft Store and find even more compatible apps. It features apps for sketching, designing, coloring, taking notes, and more.
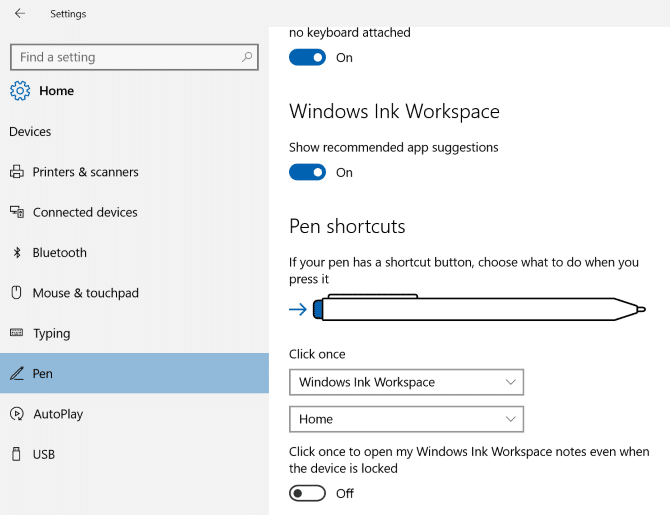
Customize Pen Settings
If you have a pen compatible with this feature, you can tweak some options to make it work best for you. Head to Settings > Devices > Pen & Windows Ink to review them. You can choose what tapping the shortcut button does, for example.
Drawing a New Side of Windows
Even if you’ve used Windows for many years, you might be surprised at what you can accomplish with a touchscreen and pen. It’s most suitable for those who use creative apps, but anyone with a compatible display should try it out. And as Windows 10 evolves, these features will only get better.