When you get a new iPhone, you don’t have to worry about starting from scratch. Apple makes it easy to transfer most of the data from your old iPhone onto a new one.
Let’s walk through the process to transfer content from your current iPhone to a new one. We’ll also look at how this works if you want to transfer an Android device to an iPhone.
For best results, keep both devices charging while you do this to make sure neither one runs out of power during the process. Also, if you’re already set up your new iPhone, you’ll need to reset it. Head to Settings > General > Reset > Erase all Content & Settings to factory reset your device so you can transfer from another phone.
How to Transfer Your iPhone Data to a New iPhone
If you’re replacing your iPhone, you can transfer a lot of your current data to the new device automatically. It’s a little less convenient if you have an older device, but still simple.
Step 1: Turn on Your New iPhone
To begin, turn on your new iPhone by holding the Side button on the right side of the device for a few seconds. You’ll see the Apple logo appear, then a Hello screen in several languages. Swipe up from the bottom of the screen to start.
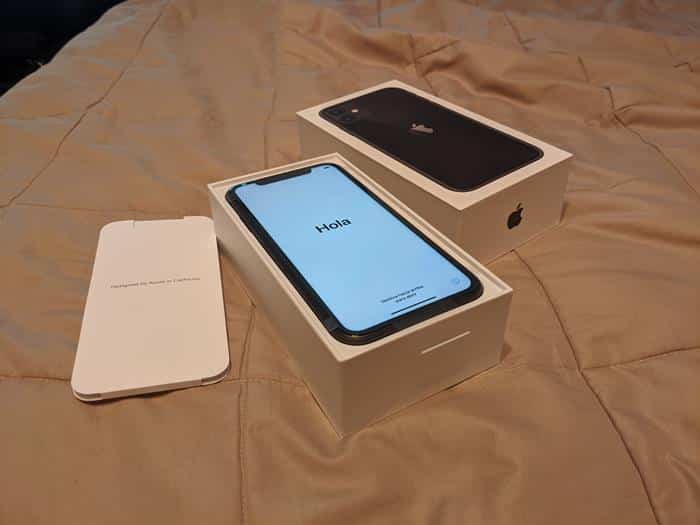
To start, choose your language and region. After that, you’re ready to begin the transfer process.
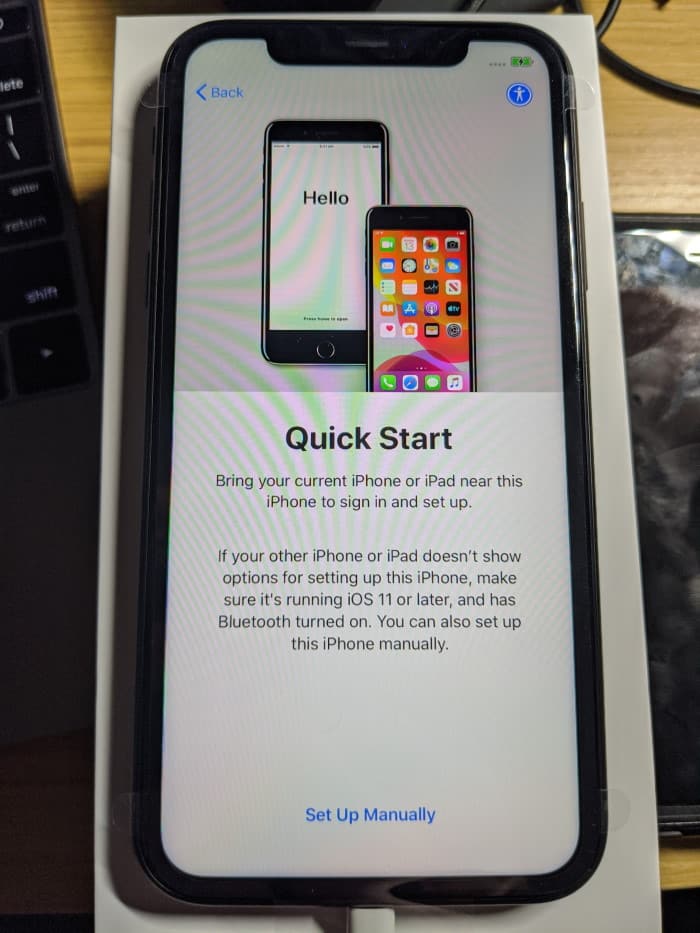
Step 2: Transferring Data With Quick Start
Next, you’ll see the Quick Start screen. If your old iPhone is running iOS 11 or later, you can use this convenient feature to transfer the data from your old device automatically.
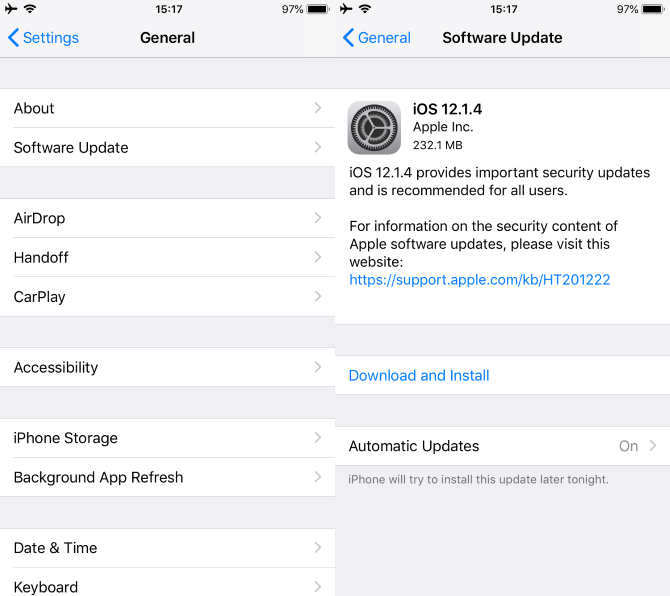
With iOS 12.4 or later, you can also transfer the data directly instead of making and restoring a backup. All iPhone models since the iPhone 5S can run at least iOS 12.4, so chances are you can use this unless you have a very old iPhone. If your old phone isn’t up-to-date, go to Settings > General > Software Update to check for and apply updates.
If your old phone can’t run at least iOS 11, tap Set Up Manually instead. You’ll have to configure some options (like the Wi-Fi network and passcode) by hand, but can still restore a backup later on.
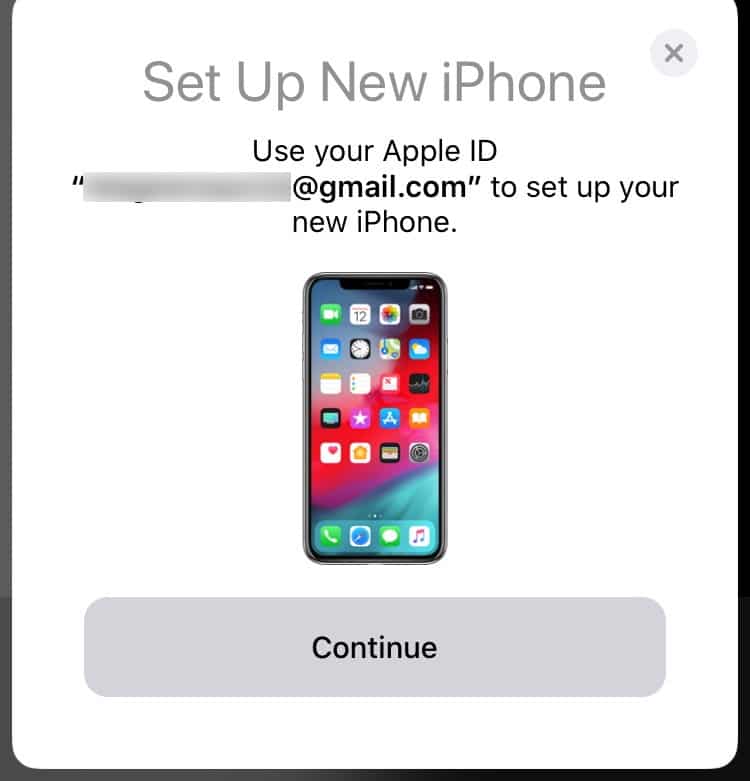
To use Quick Start, you must have Bluetooth enabled on your old phone. Visit Settings > Bluetooth to check this. Next, bring your old phone near your new one, and you should see a Set Up New iPhone prompt on your old iPhone. Tap Continue to move on.
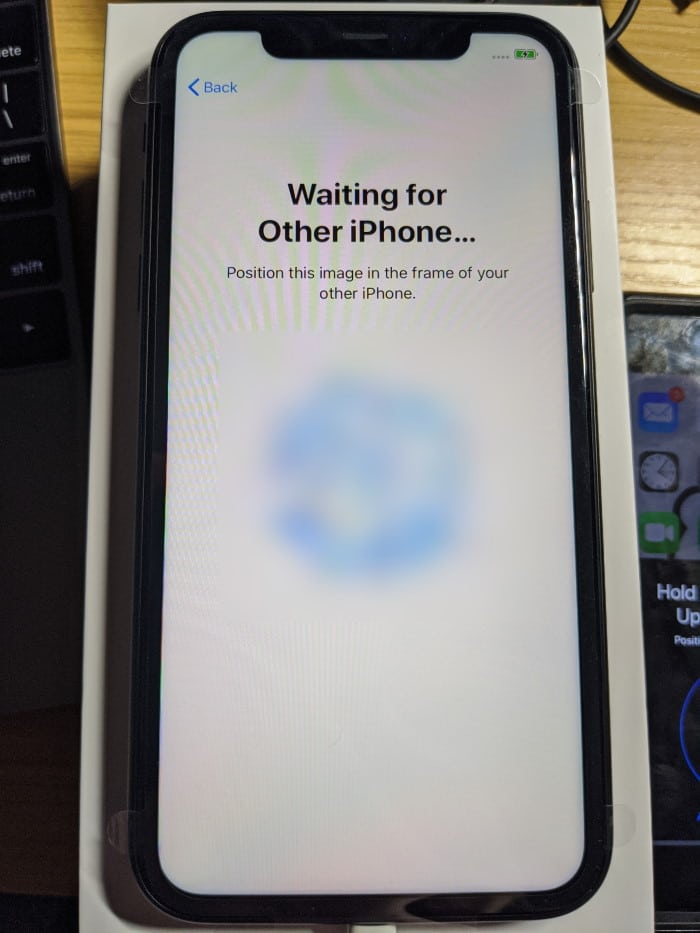
Now you’ll see an animation appear on your new iPhone. Use the camera on your old phone to scan the screen on your new device. After it reads the image, you’ll then need to enter the passcode for your old iPhone. This will also become the passcode for your new phone (which you can change later if you want).
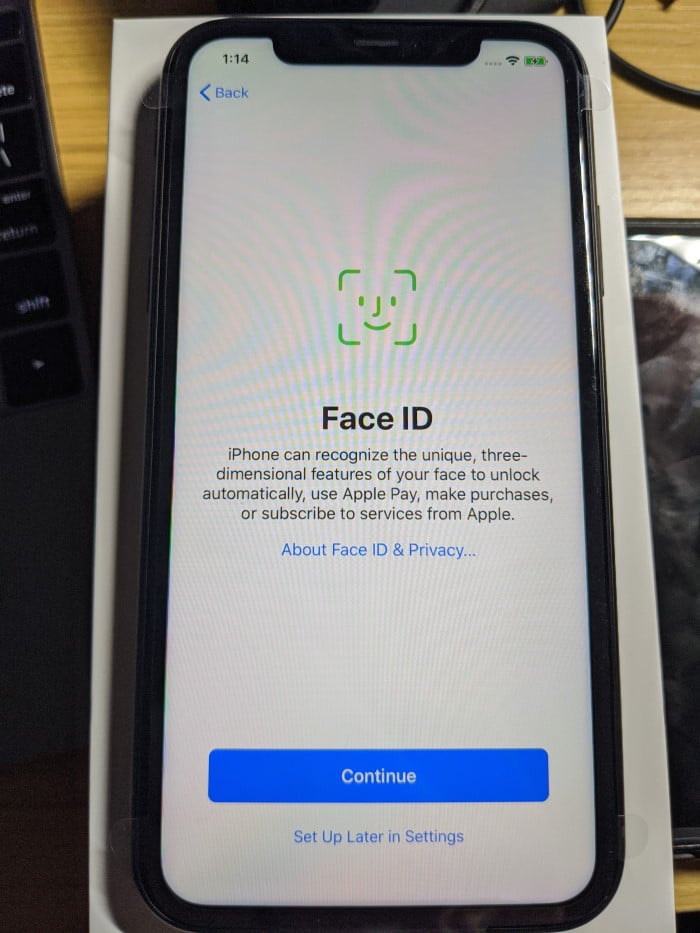
Step 3: Face ID or Touch ID
Next, you’ll see a prompt to set up Face ID on your new iPhone if it’s an iPhone X or later. If you’re using an older device or an iPhone SE, this will be Touch ID instead. Follow the instructions to let your phone scan your face or fingerprint.
Step 4: Finish the Data Transfer
Afterward, if your old phone has iOS 12.4 or newer, you’ll see a prompt to transfer all the data from your old phone to your new one. Tap Transfer from iPhone to start moving the data, which will take some time.
If you don’t want to use the automated transfer for some reason, select More Options. There, on the Apps & Data screen, you can choose from the following options:
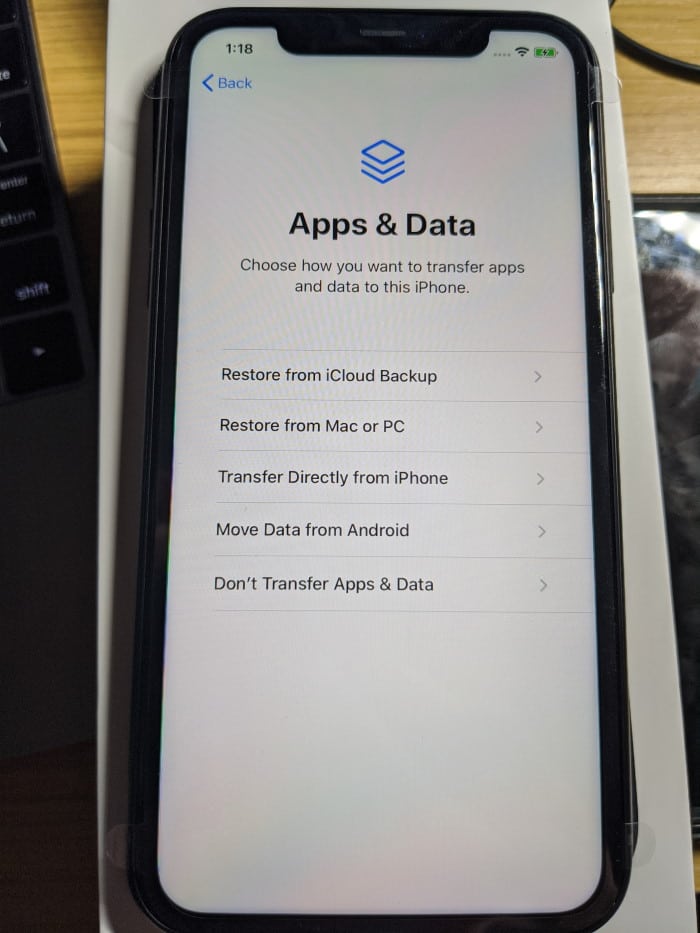
- Restore from iCloud Backup: Restores a cloud backup made on your old phone to your new phone.
- Restore from Mac or PC: Select this if you have a backup of your old iPhone made in iTunes or Finder on a Windows PC or Mac.
- Transfer Directly from iPhone: Use Quick Start to transfer automatically, as described above.
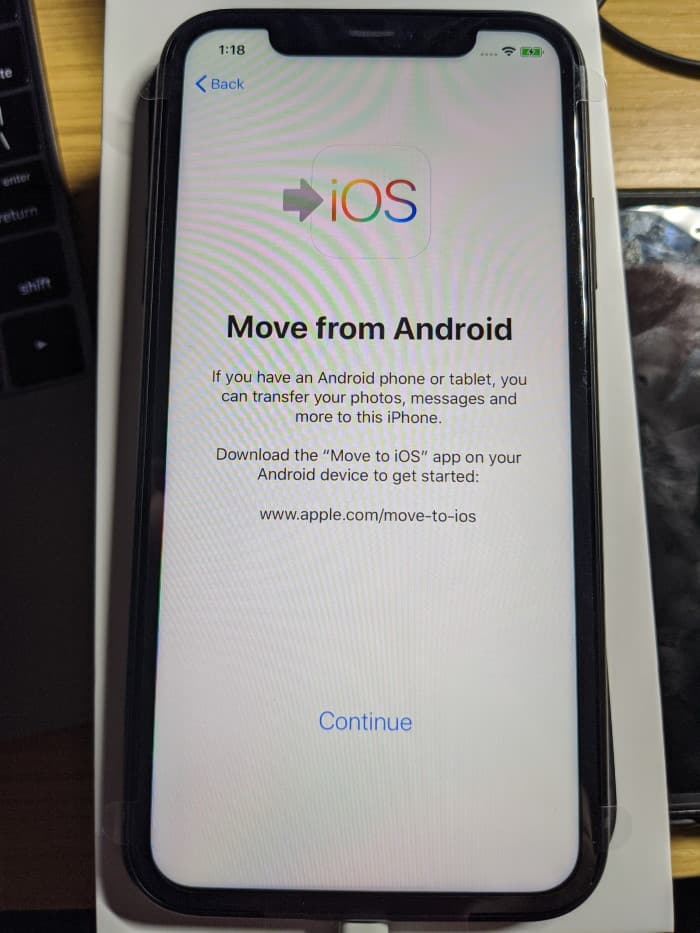
- Move Data From Android: Use Apple’s Move to iOS app to migrate from an Android phone (see below for more info).
- Don’t Transfer Apps & Data: Continue setting up your iPhone from scratch.
Choose your option, then follow the steps to complete the process. For restoring a backup from your desktop, for instance, you’ll need to connect your new iPhone to your computer. Note that restoring from iCloud will take more time than a wired method.
Step 5: Completing the Setup
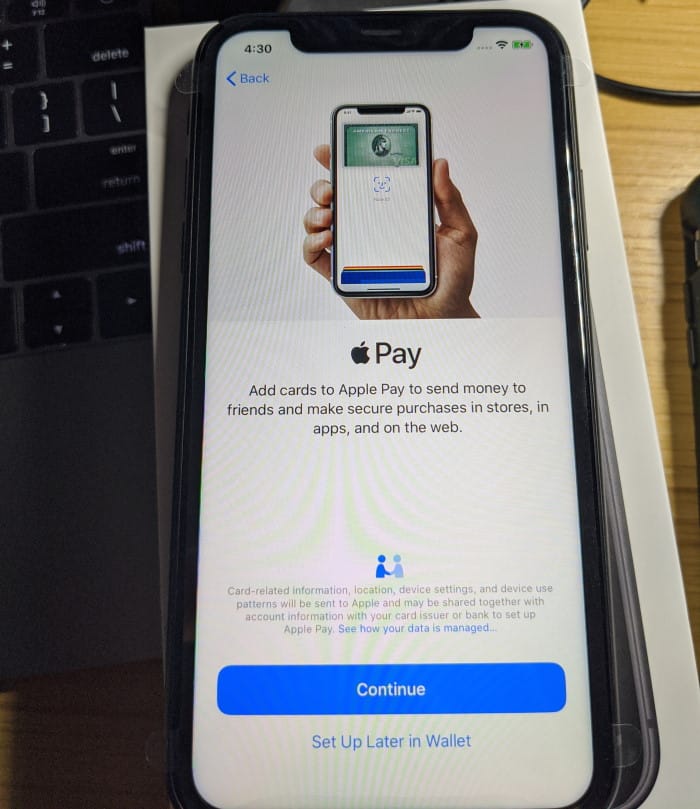
Once you start the restore process, your iPhone will ask you to configure the rest of the setup options. This includes configuring Apple Pay, Siri, setting your advertising preferences, and similar. The transfer method you selected will affect what you see here; if you imported from your old iPhone, you can copy many of the options over.
After that’s done, you’ll sign into your new iPhone. Keep the old one nearby until you see that the transfer has completed, and you’re all set.
How to Transfer to an iPhone From Android
Some of the steps for switching from Android are the same as the above, so make sure you’re familiar with that process before reading the Android-specific tips.
Step 1: Walk Through the Initial Setup
When moving to an iPhone from an Android phone, you’ll need to tap Set Up Manually on the Quick Start screen. Connect to a Wi-Fi network to begin.
Once your new phone is online, accept the Data & Privacy prompt and set up Face ID/Touch ID. Next, create a passcode. This serves as a fallback option if Face ID isn’t available, and is also required sometimes for your security.
Step 2: Using Move to iOS
Now, you’ll see the Apps & Data screen with several options for moving your data. Select Move data from Android since you don’t have an old iPhone.
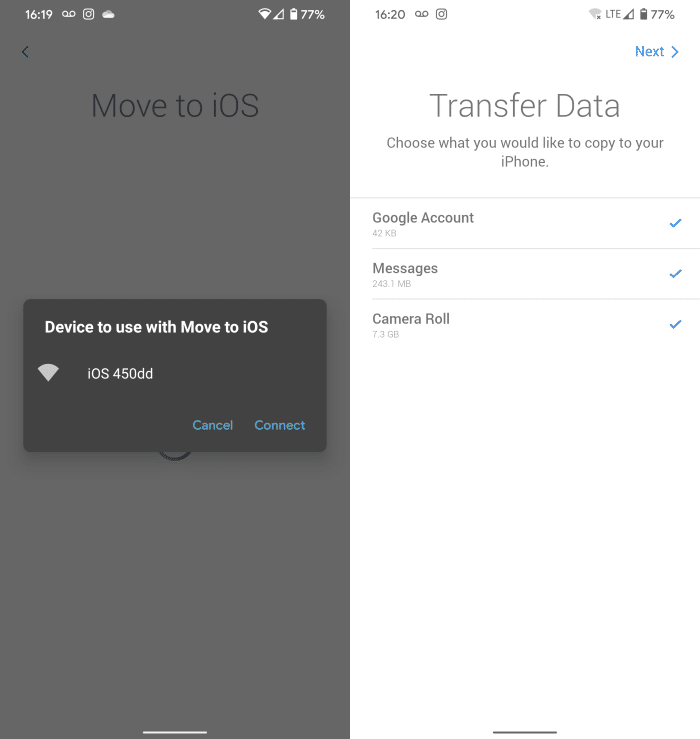
On your Android device, install the Move to iOS app from the Google Play Store. Open it and tap Continue, then accept the terms and conditions and grant it permission to access your data.
Tap Continue on your iPhone to generate a code, then tap Next at the top-right of the Android app and enter the code. After a moment, you’ll see your iPhone name—tap it to prepare the transfer. On your Android device, you’ll need to decide what to transfer, such as your Google account data, messages, and Camera Roll.
Depending on how much data you choose to transfer, this could take some time. When it’s done, your Android phone will let you know, and your iPhone will sort everything into place.
Step 3: Finish Setup
Next, you’ll need to sign into your Apple ID. If you’ve used iTunes or any other Apple services before, you should already have an account. If not, you can create a new Apple ID now.
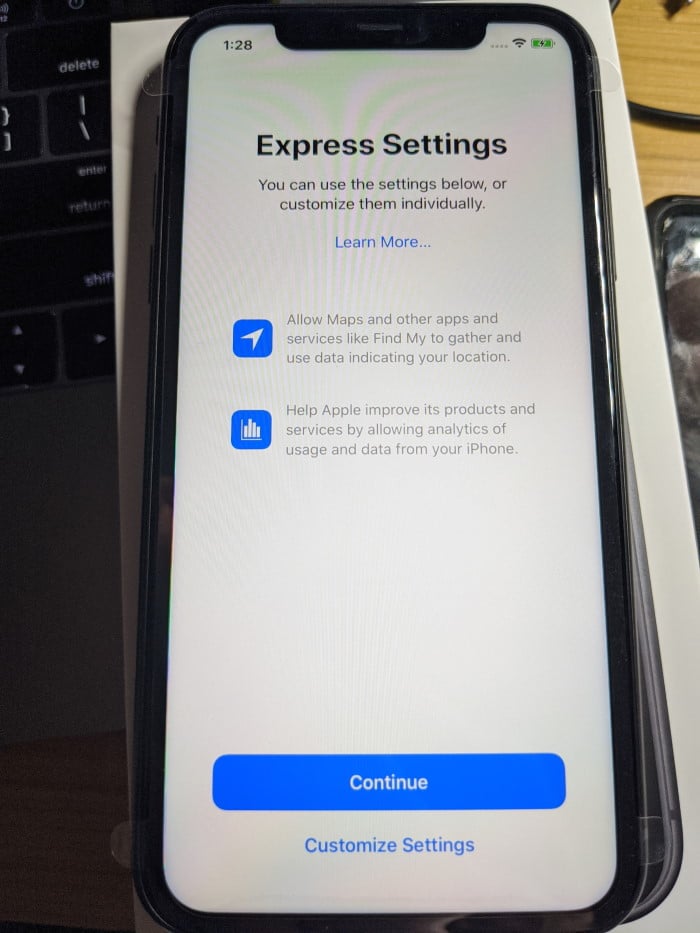
Moving on, you can use Apple’s recommend Express Settings or choose to customize them. Customizing allows you to disable automatic updates (which we don’t recommend) and location services (which may break functionality in some apps).
Next, you can choose to set up Apple Pay or do it later; the same applies with Siri. Continuing on, you’ll be asked to enable Screen Time, which gives you a report about how much you’ve used your phone. Your phone will also ask for permission to collect analytical data.
You’ll also see display options, including whether you want to use light or dark mode and if you’d like to zoom the display to show more items. Finally, your iPhone will show you how to navigate around.
Once that’s done, you’re all ready to use your new iPhone. See Apple’s page on finishing touches for setting up an iPhone for a few additional steps you might need to take.
Moving to a New iPhone Made Easy
We’ve shown how making the switch to a new iPhone is relatively painless. As long as you have a fairly recent iPhone, you should be able to move everything over in a few steps. From there, you can start using your new device where you left off.
See Apple’s guide to selling or giving away your old device for what you should do with the old one. And make sure you follow the most important iPhone security tips to keep your device protected.